Individual Seven-Layer Taco Dip Cups

007

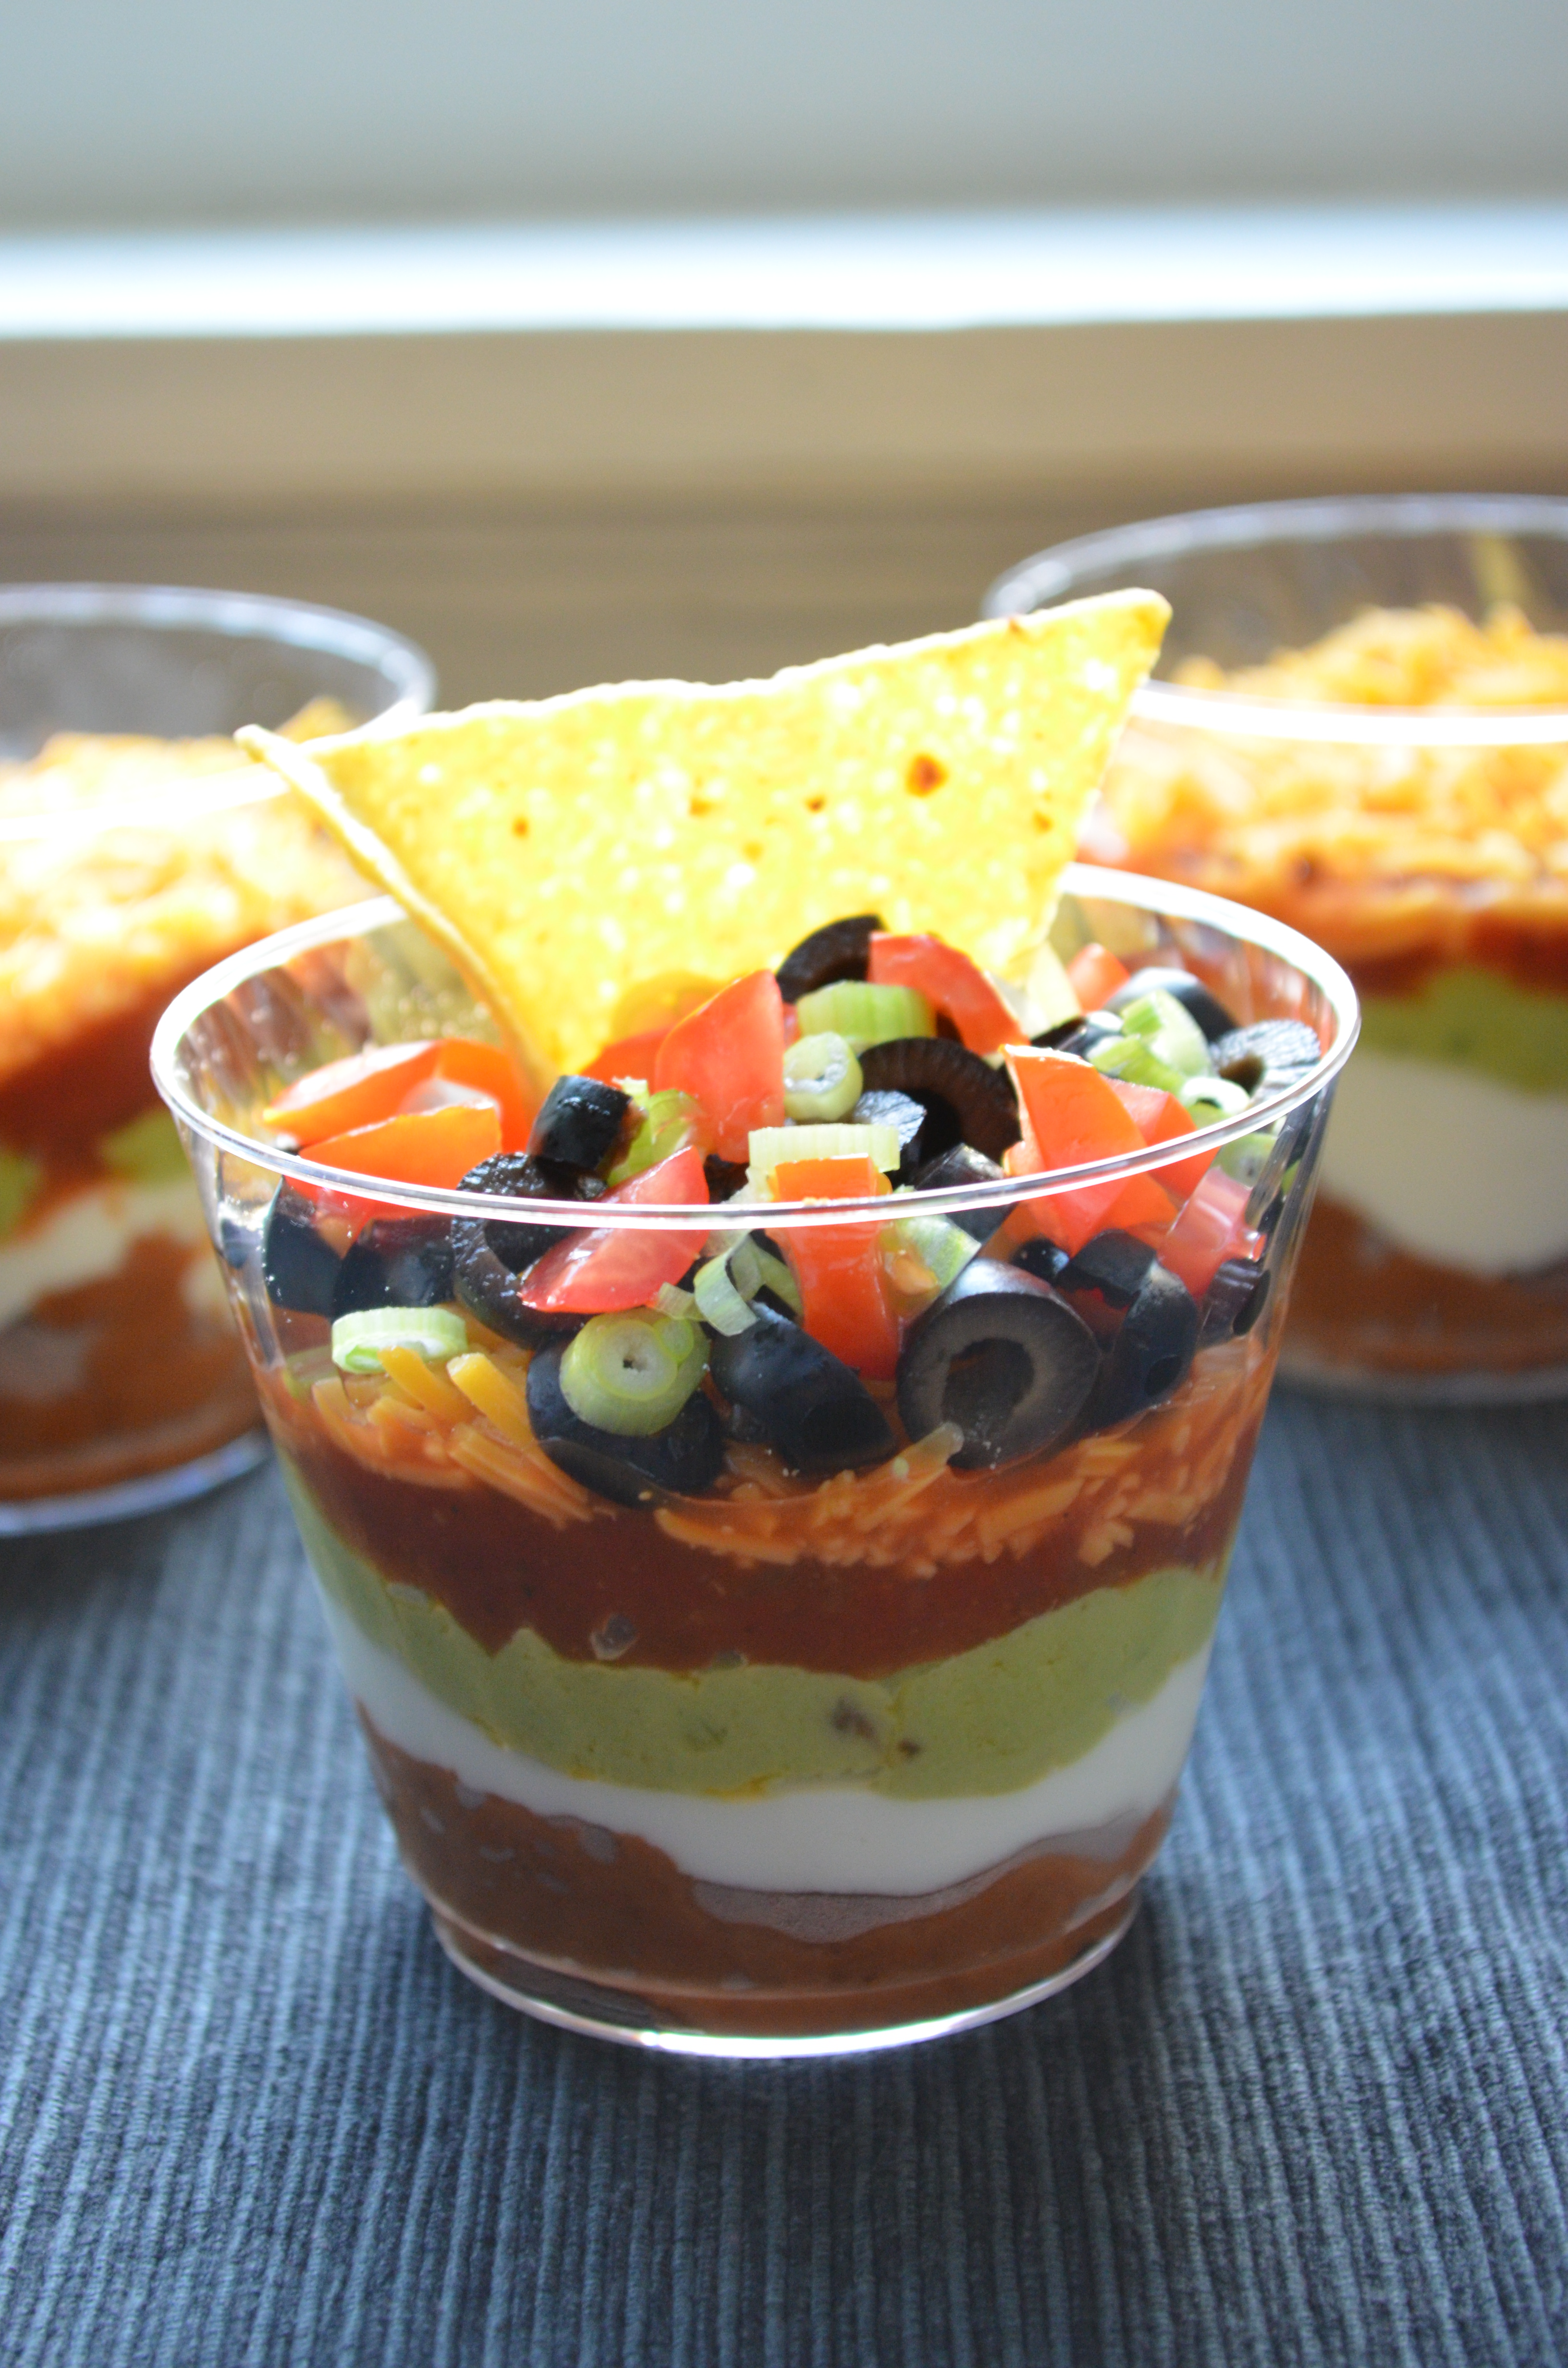
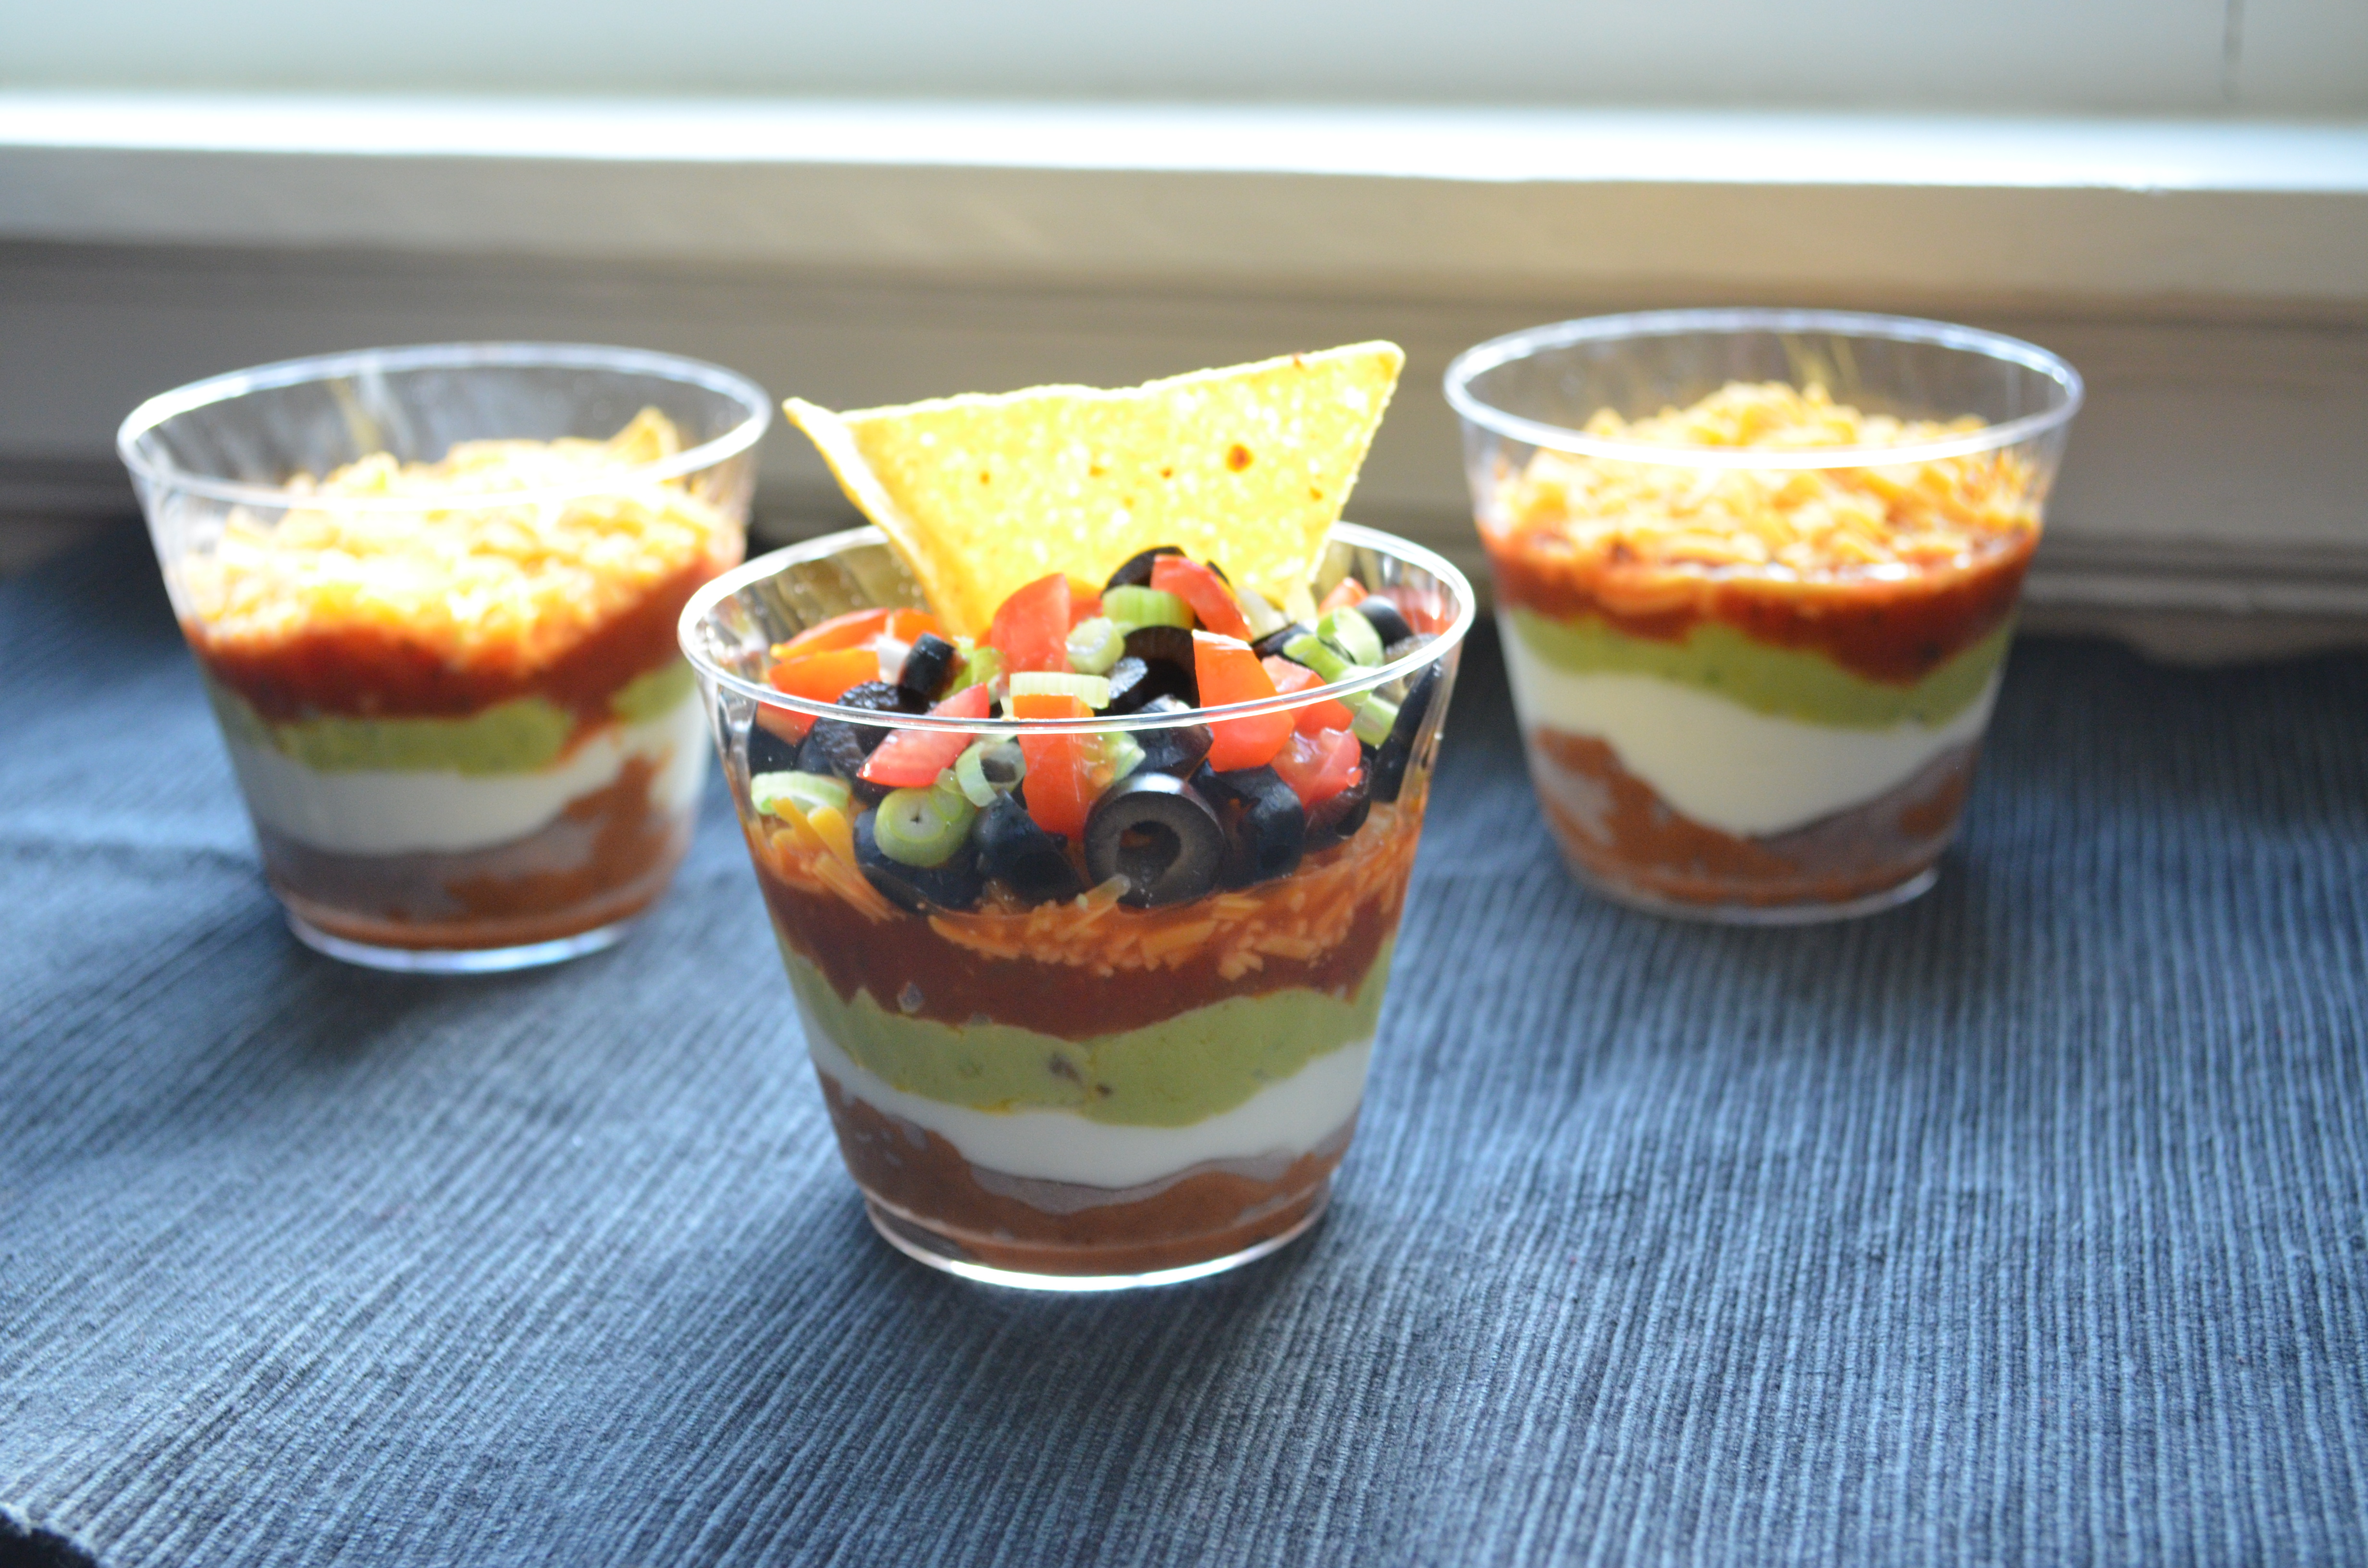
During the summer, I like to munch on appetizers instead of big heavy meals.  One of my favorite things to eat is taco dip with tortilla chips.  Honestly, who doesn’t love that stuff?  But I don’t know how to make just a little bit of seven layer dip.  It’s only a big platter or nothing at all.  Problem with that is (yes, I know…there is a problem with that) when you’re munching by the pool or at a picnic on a hot sunny day, it gets really mushy and warm if left out too long.  That’s where these little guys came along.  They’re easy and you can personalize them to different likings.  PLUS…you only have to pull out a couple at a time and the rest can stay chilled until you want it or for later.  Such a great idea!

005

Individual Seven-Layer Dip Cups (original recipe found here)
Makes 8 individual cups

Ingredients
1 (16 ounce) can refried beans
1 (1 ounce) package taco seasoning
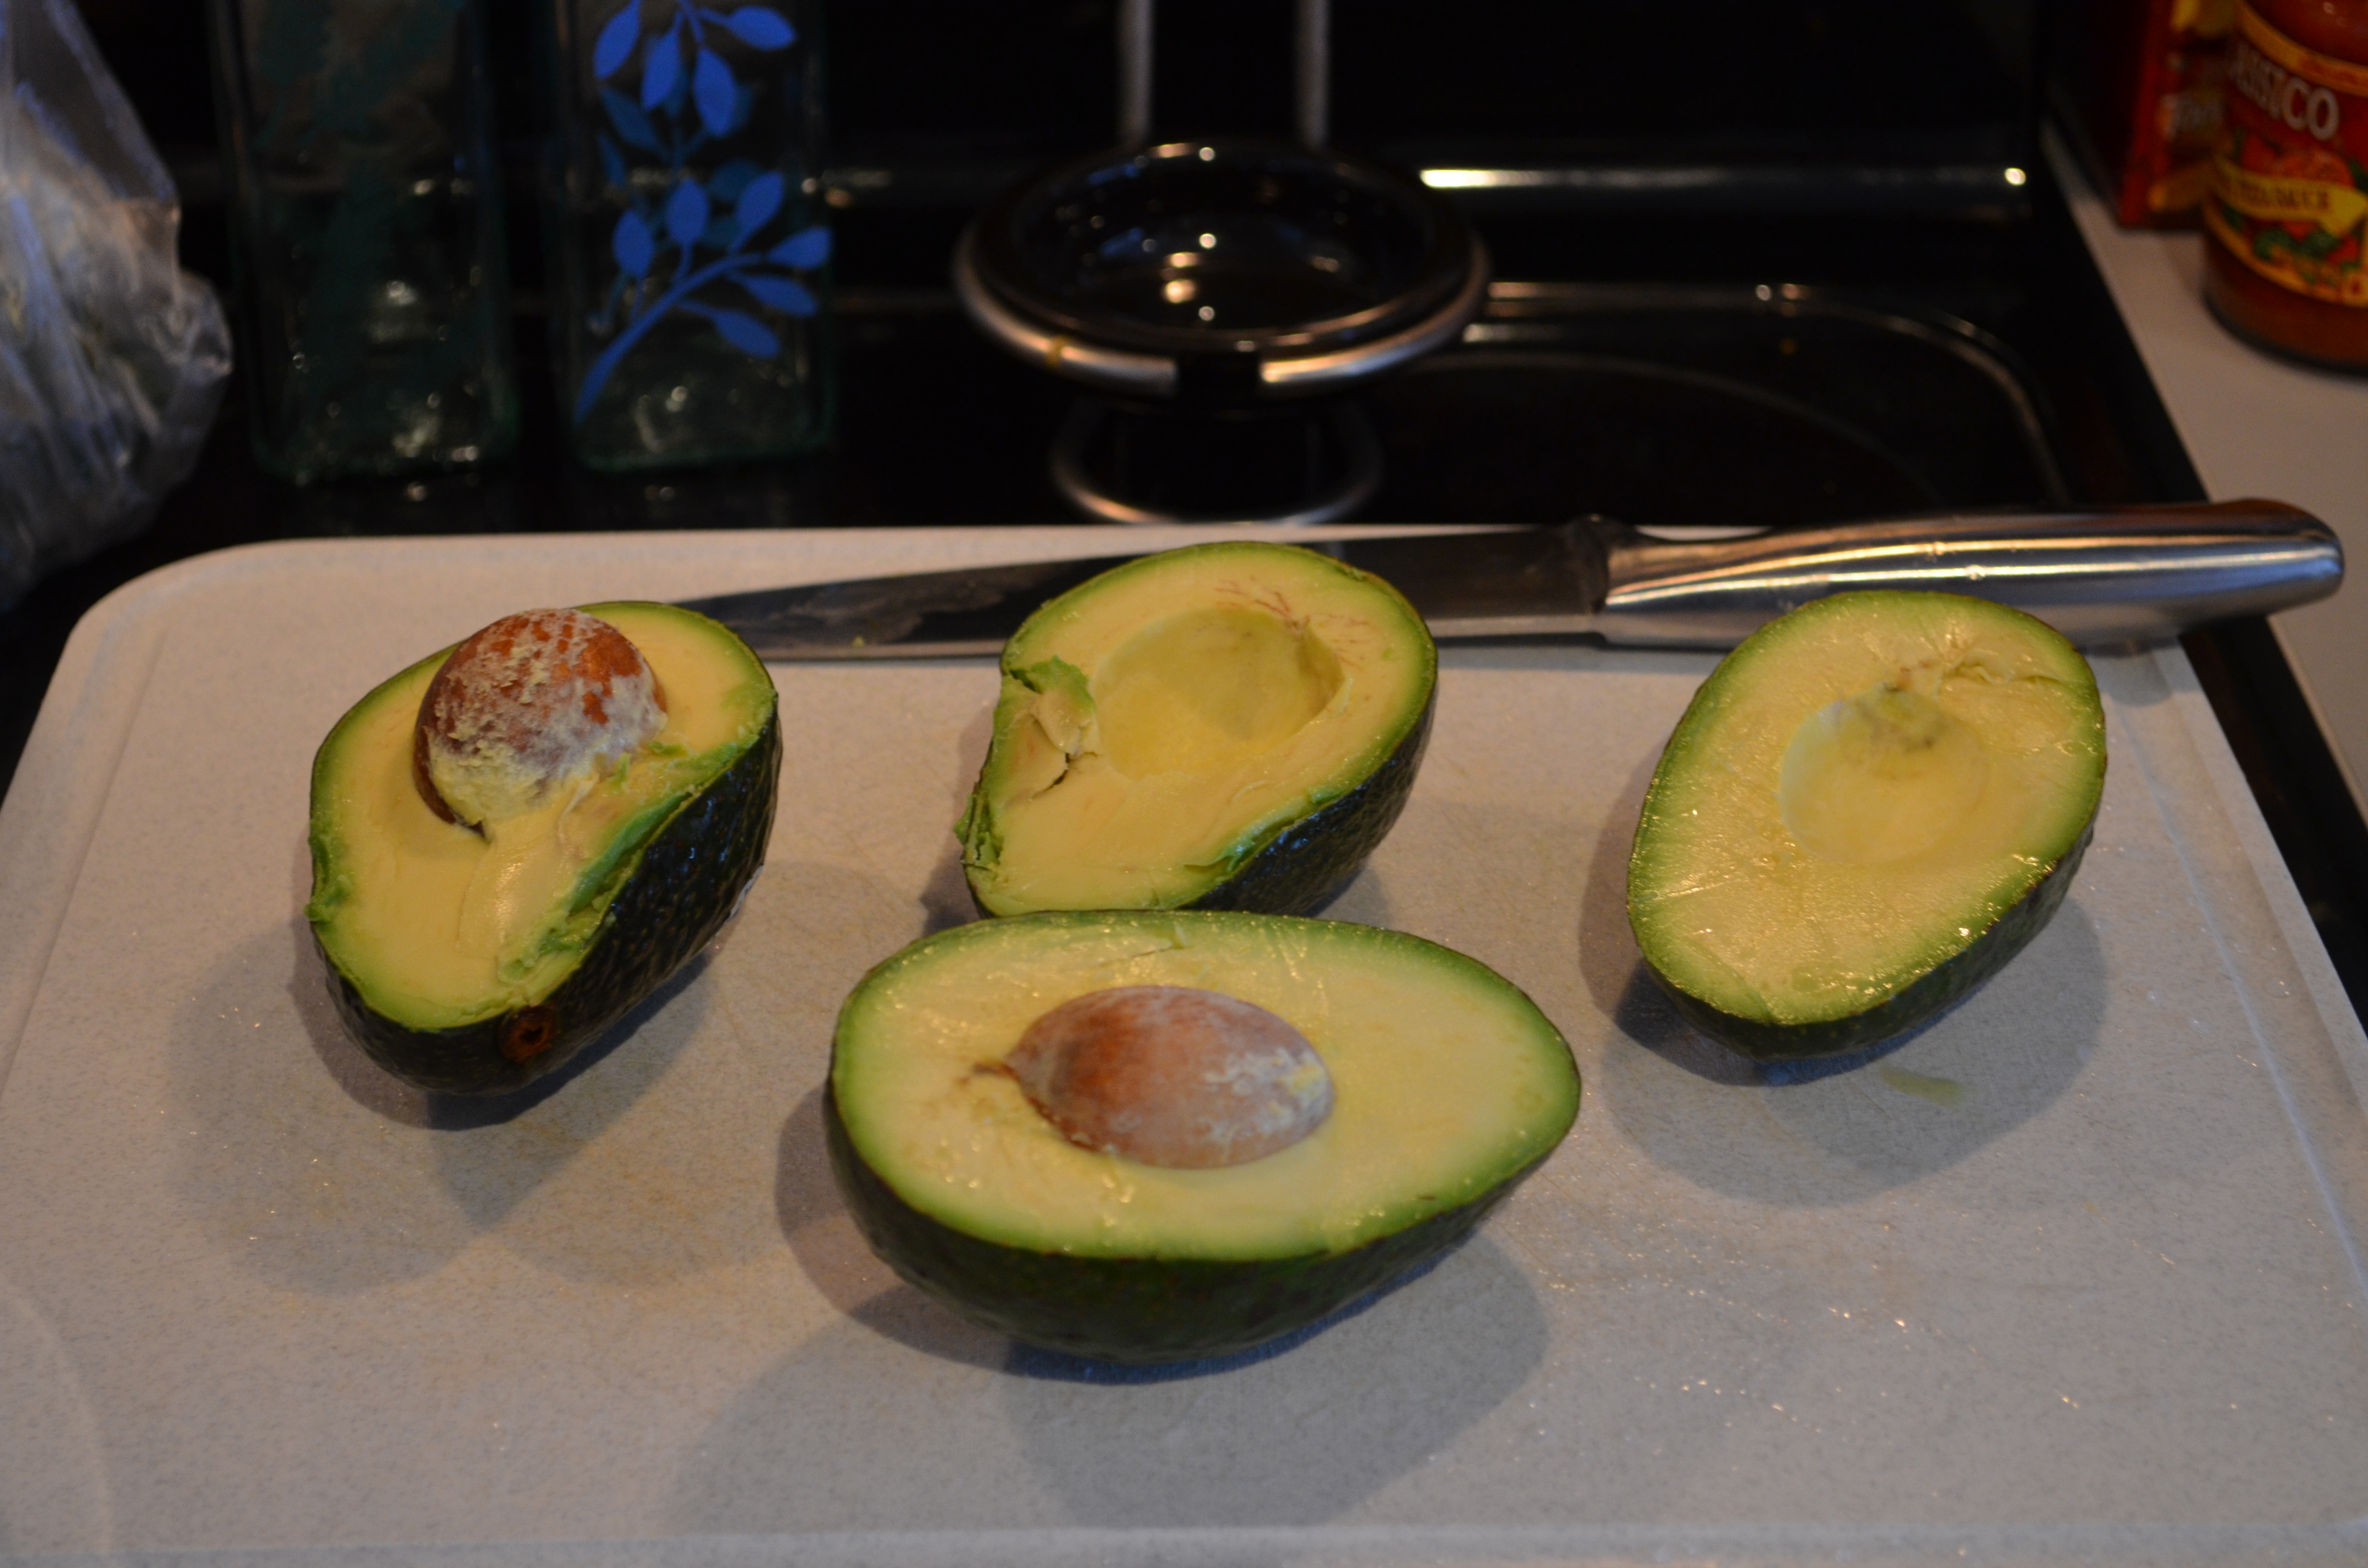
1 cup guacamole
1 (8 ounce) container sour cream
1 cup chunky salsa
1 cup shredded cheddar or Mexican blend cheese
2 tomatoes, diced
1/2 bunch of green onions, sliced
1 (2.25 ounce) can of sliced olives, drained
8 (9 ounce) plastic tumblers
tortilla chips

Directions
1.  In a small bowl mix taco seasoning with refried beans.
2.  Layer the ingredients in the following order. In each plastic glass, layer about 2 Tablespoons of the beans, followed by 2 Tablespoons of sour cream, 2 Tablespoons of guacamole, 2 Tablespoons of salsa or pico de gallo, and 2 Tablespoons of cheese. Then top with about 1-2 teaspoons of tomatoes, olives, and green onion (If making ahead of time, wait to add these toppings until shortly before serving).
3.  Store in the refrigerator until serving and serve with chips.

Enjoy!!!!

010

Chex Mix

055

This has been a staple in my family for years.  Someone coming over?  Make chex mix.  Holiday coming up?  Better make some chex mix.  Want a delicious snack?  You get the point.  My mom always made this in the oven (I think she still does actually…it make the house smell DIVINE!) but when I was short on time and needed one more thing to fill the table for book club, I figured I’d give this a shot in the microwave.

End result?  Amazing.  Simply amazing.  Plus it only took half the time!  And who doesn’t love chex mix?  I can’t think of anyone who doesn’t love these easy treat!  Enjoy (and don’t eat it it all before your guests arrive)!

057

Chex Mix

Ingredients
3 cups Corn Chex cereal
3 cups Rice Chex cereal
3 cups Wheat Chex cereal
1 cup mixed nuts
1 cute bite-sized pretzels
6 tablespoons butter
2 tablespoons Worcestershire sauce
1 1/2 teaspoons seasoned salt
3/4 teaspoon garlic powder
1/2 teaspoon onion powder

Directions
1. In large microwavable bowl, mix cereals, nuts, and pretzels; set aside.
2. In small microwavable bowl, microwave butter uncovered on high for about 40 seconds or until melted.
3. Stir in seasonings.
4. Pour over cereal mixture. Stir until evenly coated.
5. Microwave uncovered n high for about 5 to 6 minutes, thoroughly stirring every 2 minutes.
6. Spread on paper towels to cool. Store in airtight container until ready to eat!

Lightened Up Sour Cream & Onion Dip

780

I made this sour cream and onion dip back in October when I went up north with a bunch of girlfriends for a weekend.  I was flipping through pictures a few days ago and realized I never shared this recipe.  How did I miss this one?

This was a big hit with the ladies and the best part is that it’s kind of healthy!  Whaaa?  Oh yes, you read that right.  Add Greek yogurt along in with the reduced fat sour cream and voila!  Half the calories, twice the fun!

777

Lightened Up Sour Cream & Onion Dip (originally found on Eat, Live, Run)

Ingredients
2 large yellow onions, diced small
2 tablespoons olive oil
2 tablespoons water
1 17-ounce Greek yogurt
1 16-ounce container reduced fat sour cream
1 teaspoon garlic salt
1/4 teaspoon black pepper

Directions
1. Heat the olive oil over medium-low heat in a non-stick large pan.
2. Add the onion and saute for about 30 minutes, stirring often and adding the water later during the cooking process if and when onions seem a bit dry. You want the onions to be very translucent and soft but not quite caramelized.
3. After onions are cooked, let them cool completely.
4. Mix together the Greek yogurt and sour cream in a large bowl.
5. Add the cooled onions, garlic sale, and pepper.
6. Combine well and place in the fridge for an hour to let the flavors mix together.
7. Serve with ruffle chips or vegetables!

Shrimp Ceviche

washinton DC 2013 497

Mr. C. and I are most often are signed up for the appetizers when we go to someone’s house for a gathering. It’s my favorite part of the meal to make so it’s a huge win for me. One of my favorite appetizers is shrimp cocktail. It’s easy and tastes delicious but sometimes I want a bit more flavoring. For a special treat, my new favorite thing to make is shrimp ceviche.

washinton DC 2013 495

All of the flavors tossed together makes this appetizer so mouth watering. Shrimp ceviche makes THE best cocktail dish. I would highly recommend serving it in a separate dish like a martini glass or a cute appetizer bowl though because you don’t want the juices to get mixed up with your other appetizers.

Enjoy! It’s so yummy!

washinton DC 2013 500

Shrimp Ceviche (via Skinnytaste)

Ingredients
1/4 cup chopped red onion
2 small limes, squeezed
1 tsp olive oil
1 lb large cooked shrimp, peeled and deveined
1 medium hass avocado, diced into chunks
1 medium tomato, diced
1 cup diced English cucumber, not peeled
1 serrano pepper, seeds removed and minced
2 tbsp chopped cilantro, plus more for garnish
salt and fresh black pepper to taste
1 lime cut into wedges for serving
2 1/4 cups shredded iceberg lettuce

Directions
1. In a small bowl combine red onion, lime juice, olive oil, pinch of salt and pepper. Let them marinate at least 5 minutes to mellow the flavor of the onion.
2. In a large bowl combine shrimp, avocado, tomato, cucumber, serrano pepper. Combine all the ingredients together, add cilantro and gently toss. Adjust salt and pepper to taste.
3. Layer the serving bowl with lettuce then add the mixture on top. Cut lime wedges for garnish and a little extra cilantro on top for flavoring.

Ritz Clubs

006 (2)

I can’t believe football season is almost to an end? Can you believe it? I’m sad because I really like cheering on my Packers. Might as well keep cheering though because they are playing this Saturday against the San Francisco 49ers. And when you’re sitting around watching a Packer game, the only way to do it is with delicious snacks on your plate right?

These little guys are super easy to make and taste delicious. They might be no brainers but they will definitely keep your guests happy before a main meal anywhere you go. Enjoy!

005 (2)

Ritz Clubs

Ingredients
8 slices bacon (1/2 pound)
32 RITZ Crackers
3 tablespoons honey mustard
8 thin slices deli honey roasted turkey breast (1/4 pound)
1 medium plum or Roma tomato, seeded and finely chopped
1/2 cup baby spinach, finely chopped
1 radish, finely chopped
1-1/2 teaspoons extra virgin olive oil, for drizzling
1/8 teaspoon each salt and pepper

Directions
1. Cook bacon until crisp, then cut each slice into quarters.
2. Dot the crackers with honey mustard and top with a piece of bacon.
3. Cut the deli slices of turkey in quarters. Fold the pieces of turkey to fit the crackers. Pile turkey on top of bacon.
4. Toss the tomatoes, spinach, and radishes and dress the relish with olive oil, salt and pepper.
5. Top the tukey with a rounded teaspoon of the tomato and spinach relish.

Stuffed Mushrooms

005 (3)

This year for Thanksgiving I was in charge of making all the appetizers.  I know it’s not much but I really wanted to outdo myself so I pumped up my A game.  I made eggrolls, hot spinach artichoke dip, shrimp cocktail, pumpkin spice dip, and these bad boys.  Stuffed mushrooms.

I wish I would have made double the batch because I didn’t realize how good they were until they were almost gone and I didn’t even get a picture of them yet for the blog!

Hence the half empty platter of stuffed mushrooms.  I’ll try to do better next time when it comes to the pictures of recipes.

They taste like a bit of warm juicy heaven in your mouth.  Probably because they have bacon in them.  Actually it’s mostly because they have bacon in them.

Don’t take my word for it though.  Try them out and let me know what you think.  You’re tastebuds will thank you.

Stuffed Mushrooms

Makes about 20

Ingredients

3 slices of bacon

1/2 (8 ounce) package cream cheese, softened

2 tablespoons grated Parmesan cheese

3 drops Worcestershire sauce

2 dashes ground black pepper

1 pound mushrooms, stems removed

2 tablespoons grated parmesan cheese

Directions

1. Preheat oven to 350 degrees

2. Place the bacon in a large deep skillet and cook over medium heat, turning occassionally, until crisp and evenly browned, about 10 minutes.

3. Drain the bacon slices on a paper towel-lined plate; crumble the drained bacon into a bowl.

4. Stir in the cream cheese, 2 tablespoons Parmesan cheese, Worcestershire sauce and pepper until evenly mixed.

5. Spoon the filling into the mushroom caps and place into an 8×8 inch baking dish.

6. Sprinkle with the remaining 2 tablespoons of Parmesan cheese.

7. Bake in the preheated oven until the mushrooms are tender and the filling is golden brown, about 25 to 30 minutes.

Tasty Tuesday – Egg Rolls & Picture Failure

This Friday we are leaving for our huge camping trip of the year and I am getting really antsy about it! Every year we have a competition between sites for who makes the best (insert whatever food topic here). Last year we had a Bloody Mary competition. This year it’s who has the best appetizer and beer combination. Mr. Roommate and I are doing eggrolls and homemade brew (not sure which kind he is going to bring but I can guarantee it will rock). I rarely make eggrolls because they are so time consuming and not very good for you but they taste delicious and both of our families have been asking me to make them for a few months now.

So yesterday, I spent a good portion of my day chopping, grating, mixing, seasoning, rolling and deep frying eggrolls. Each time I got to another step in the process, I would think to myself I should really take a picture of this for my Tasty Tuesday post but let me just finish this one step. Well guess what…I said that about every single step and didn’t realize I had taken a total of zero pictures until I had finished zipping up the last bag of eggrolls and sticking them in the freezer. Serious fail on my part.

Here’s a pretty picture of what they would look like had I just taken the time to stop for a minute and snap a pic.

By the end of last night, I was so tired of food and so mad at myself that I didn’t have pictures that I didn’t bother writing this Tasty Tuesday post so that’s why it’s a day late.

Ingredients
Meat (chicken, pork, shrimp…optional) – already cooked
Cabbage
Celery
Carrots
Cilantro
White Onion
Green Onion
Eggs
Glass Noodles
Salt
Pepper
Oyster Sauce
Cooking Oil
Egg Roll Wrappers (I found mine at the local grocer in the produce area by the lettuce and cabbage, I’ve also bought some from Asian specialty food stores)

Directions
1. Roughly chopped all the vegetables, with the exception of the carrots — grate it instead. You can decide how much vegetables to use depending on how much you want to make.
2. Boil a pot of water. Once boiled, soak the noodles until they soften. Cut/chopped the noodles into two to three inch sections.
3. Mix all the veggies and noodles together in a mixing bowl. Season it with salt, black peppers and oyster sauce.
4. Taste it to make sure it’s to your liking.
5. Add the ground meat and eggs to the veggies and noodles; mix it well.
* The eggs are used to bind all the ingredients together. Remember to set an egg yoke aside so you can use it to seal the eggroll wrapper(s) together.
6. Lay out the eggroll wrappers in a diamond shape and put a small portion into the side closest to you. Fold the corner closest to you over it all the way and tuck it under the mixture. Roll a little bit and then fold in both corners to the middle. Use the egg yolk to make it stick together. Keep rolling and use a little egg yolk to close completely. (See why I needed pictures?) It’s kind of like you’re rolling a burrito so think of it that way if my directions confuse you!
6. Fry the eggrolls once you finish rolling them. *Hint…Do not it sit out too long prior to frying otherwise the wrappers will dry and crack*

There is special sauce sold in the oriental section of your local grocery store and if mixed with a little cilantro, it’s the perfect dipping sauce for your eggrolls. Make sure you can dedicate a little time to this. Mine took quite a while but I did end up making 50+ of them so I’m sure that had something to do with it.

Have fun making your kitchen oriental!